What an unboxing experience really is
An unboxing experience is everything that happens between a parcel landing on the doorstep and your product sitting in your customer's hands. It's a sequence, and the order matters: the outside of the box, the way it opens, the first look inside, how the product is held, and what's left once it's out.
For an online brand, that sequence does the job a shop would do. There's no shelf, no shop assistant and no wrapping counter. The box stands in for all three, and it's the first thing of yours your customer ever touches.
The good news is that people don't remember what you spent. They remember details that feel considered. A box that fits, opens cleanly and has one surprise inside beats a box stuffed with ten extras. Below, we follow those details in the order your customer meets them, and how to get each one right.
On the doorstep: the outside of the box
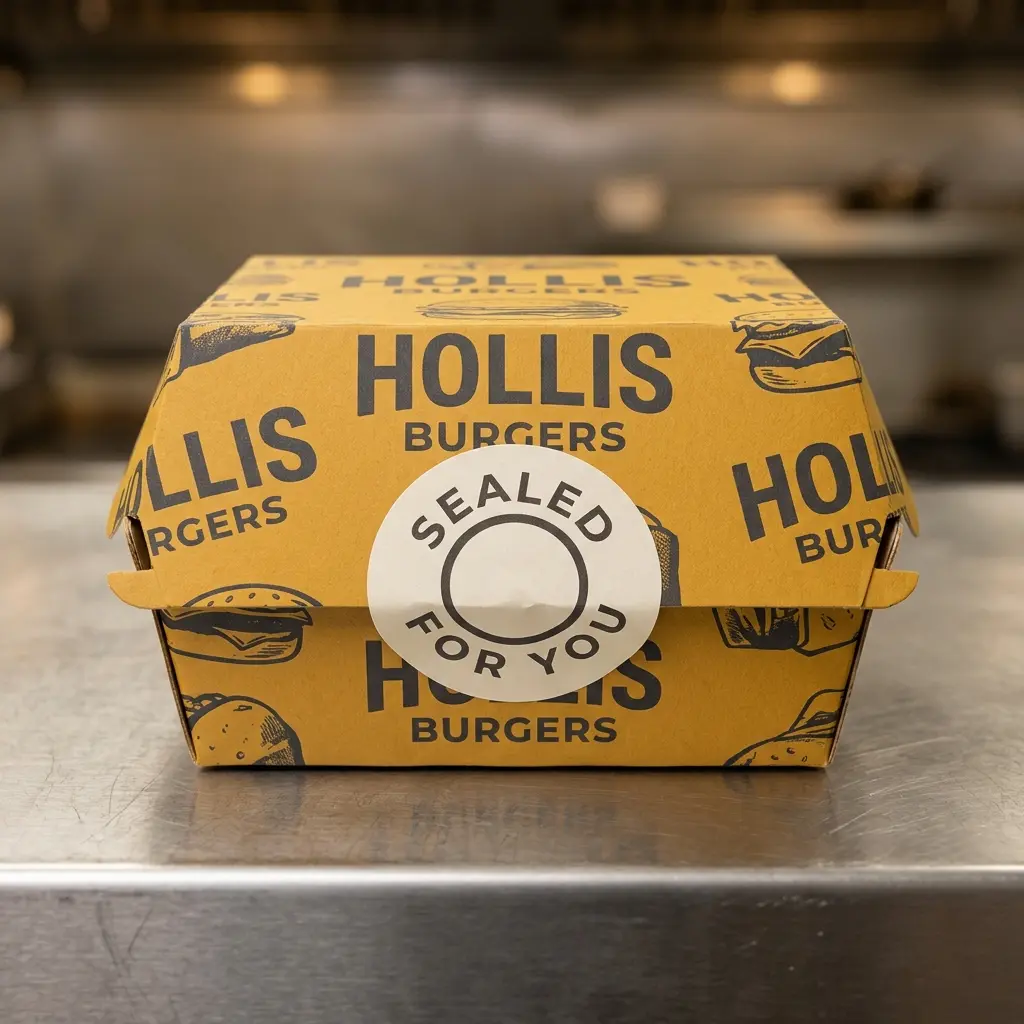
The outside has one job: say who it's from. A logo on the lid, your brand colour across the board or a simple repeat pattern is enough for a customer to recognise the parcel before they've picked it up. That flicker of recognition is where the experience starts, and once your artwork is set, it costs nothing extra on every order.
It's tempting to treat the outside as a billboard, but remember the journey. A mailer goes through sorting centres, vans and porches, and it collects scuffs along the way. Big flat areas of dark ink show every mark, while patterns, kraft board and lighter colours hide them. If your brand is dark, lamination guards the print and keeps it looking new for longer.
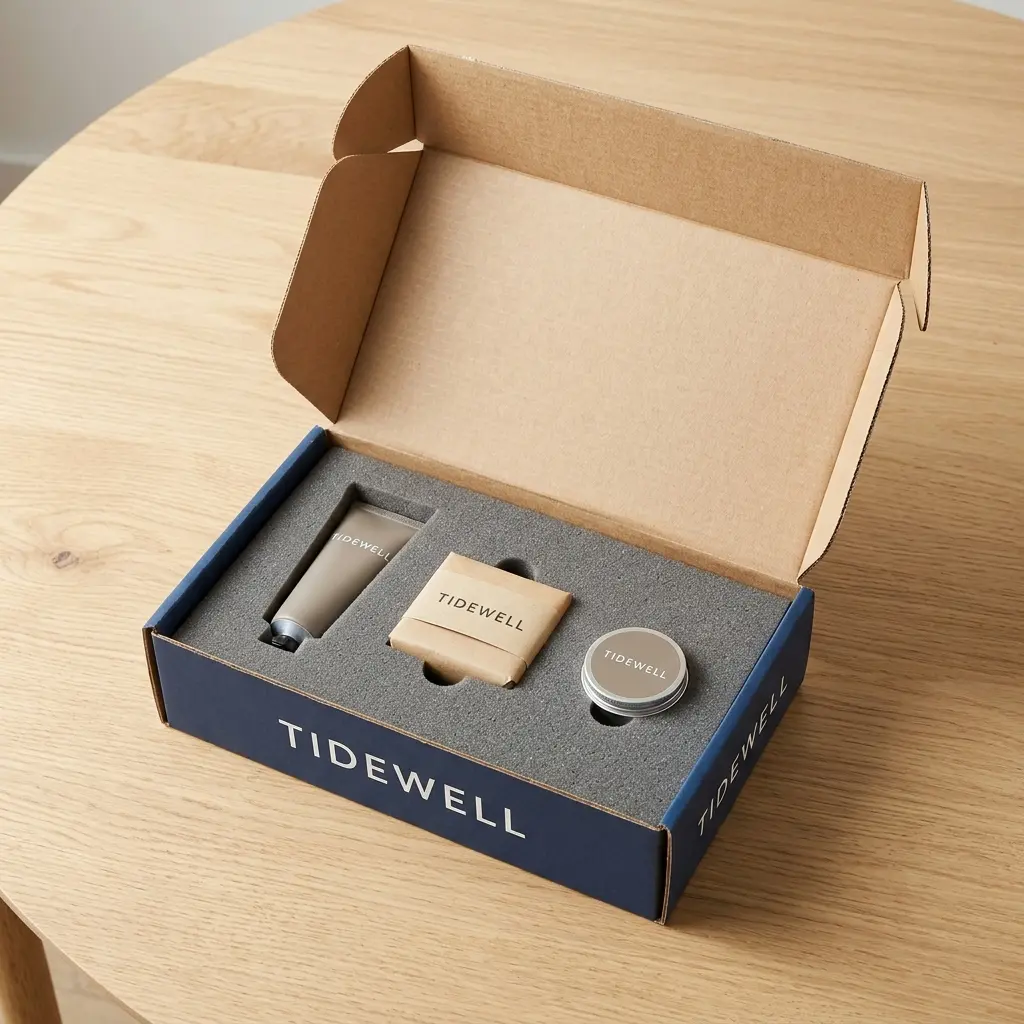
Some brands do the opposite on purpose: plain kraft packaging with a one-colour logo, so the parcel looks calm on a doorstep and the colour waits inside. Both approaches work. What matters is that the outside and the inside are planned together, as one design, so the first look and the second feel related.
What belongs on the outside:
- Your logo, big enough to read from a few steps away
- One brand colour, or kraft with a one-colour print
- Your website or social handle, small, on a side panel
- A clear space for the shipping label, so it never lands across your logo
- Nothing that announces an expensive product, if what you sell is high value
Opening it: tuck flaps, not tape
The first thing a customer does with your box is try to open it, and this is where plenty of unboxings stumble. A box wrapped in parcel tape sends people hunting for scissors or a key, and their first real contact with your brand is a fight with brown tape.
Our mailer boxes are self-locking: the lid's front panel tucks into the box and holds itself shut, so they need far less tape than a plain shipping carton.
A good opening leaves the box in one piece. A small thumb notch cut into the front wall gives a finger somewhere to go, so the lid lifts without anyone picking at the board, and the tuck front slides out as cleanly as it went in. Close it again and the box is just as tidy, ready to be kept or reused.
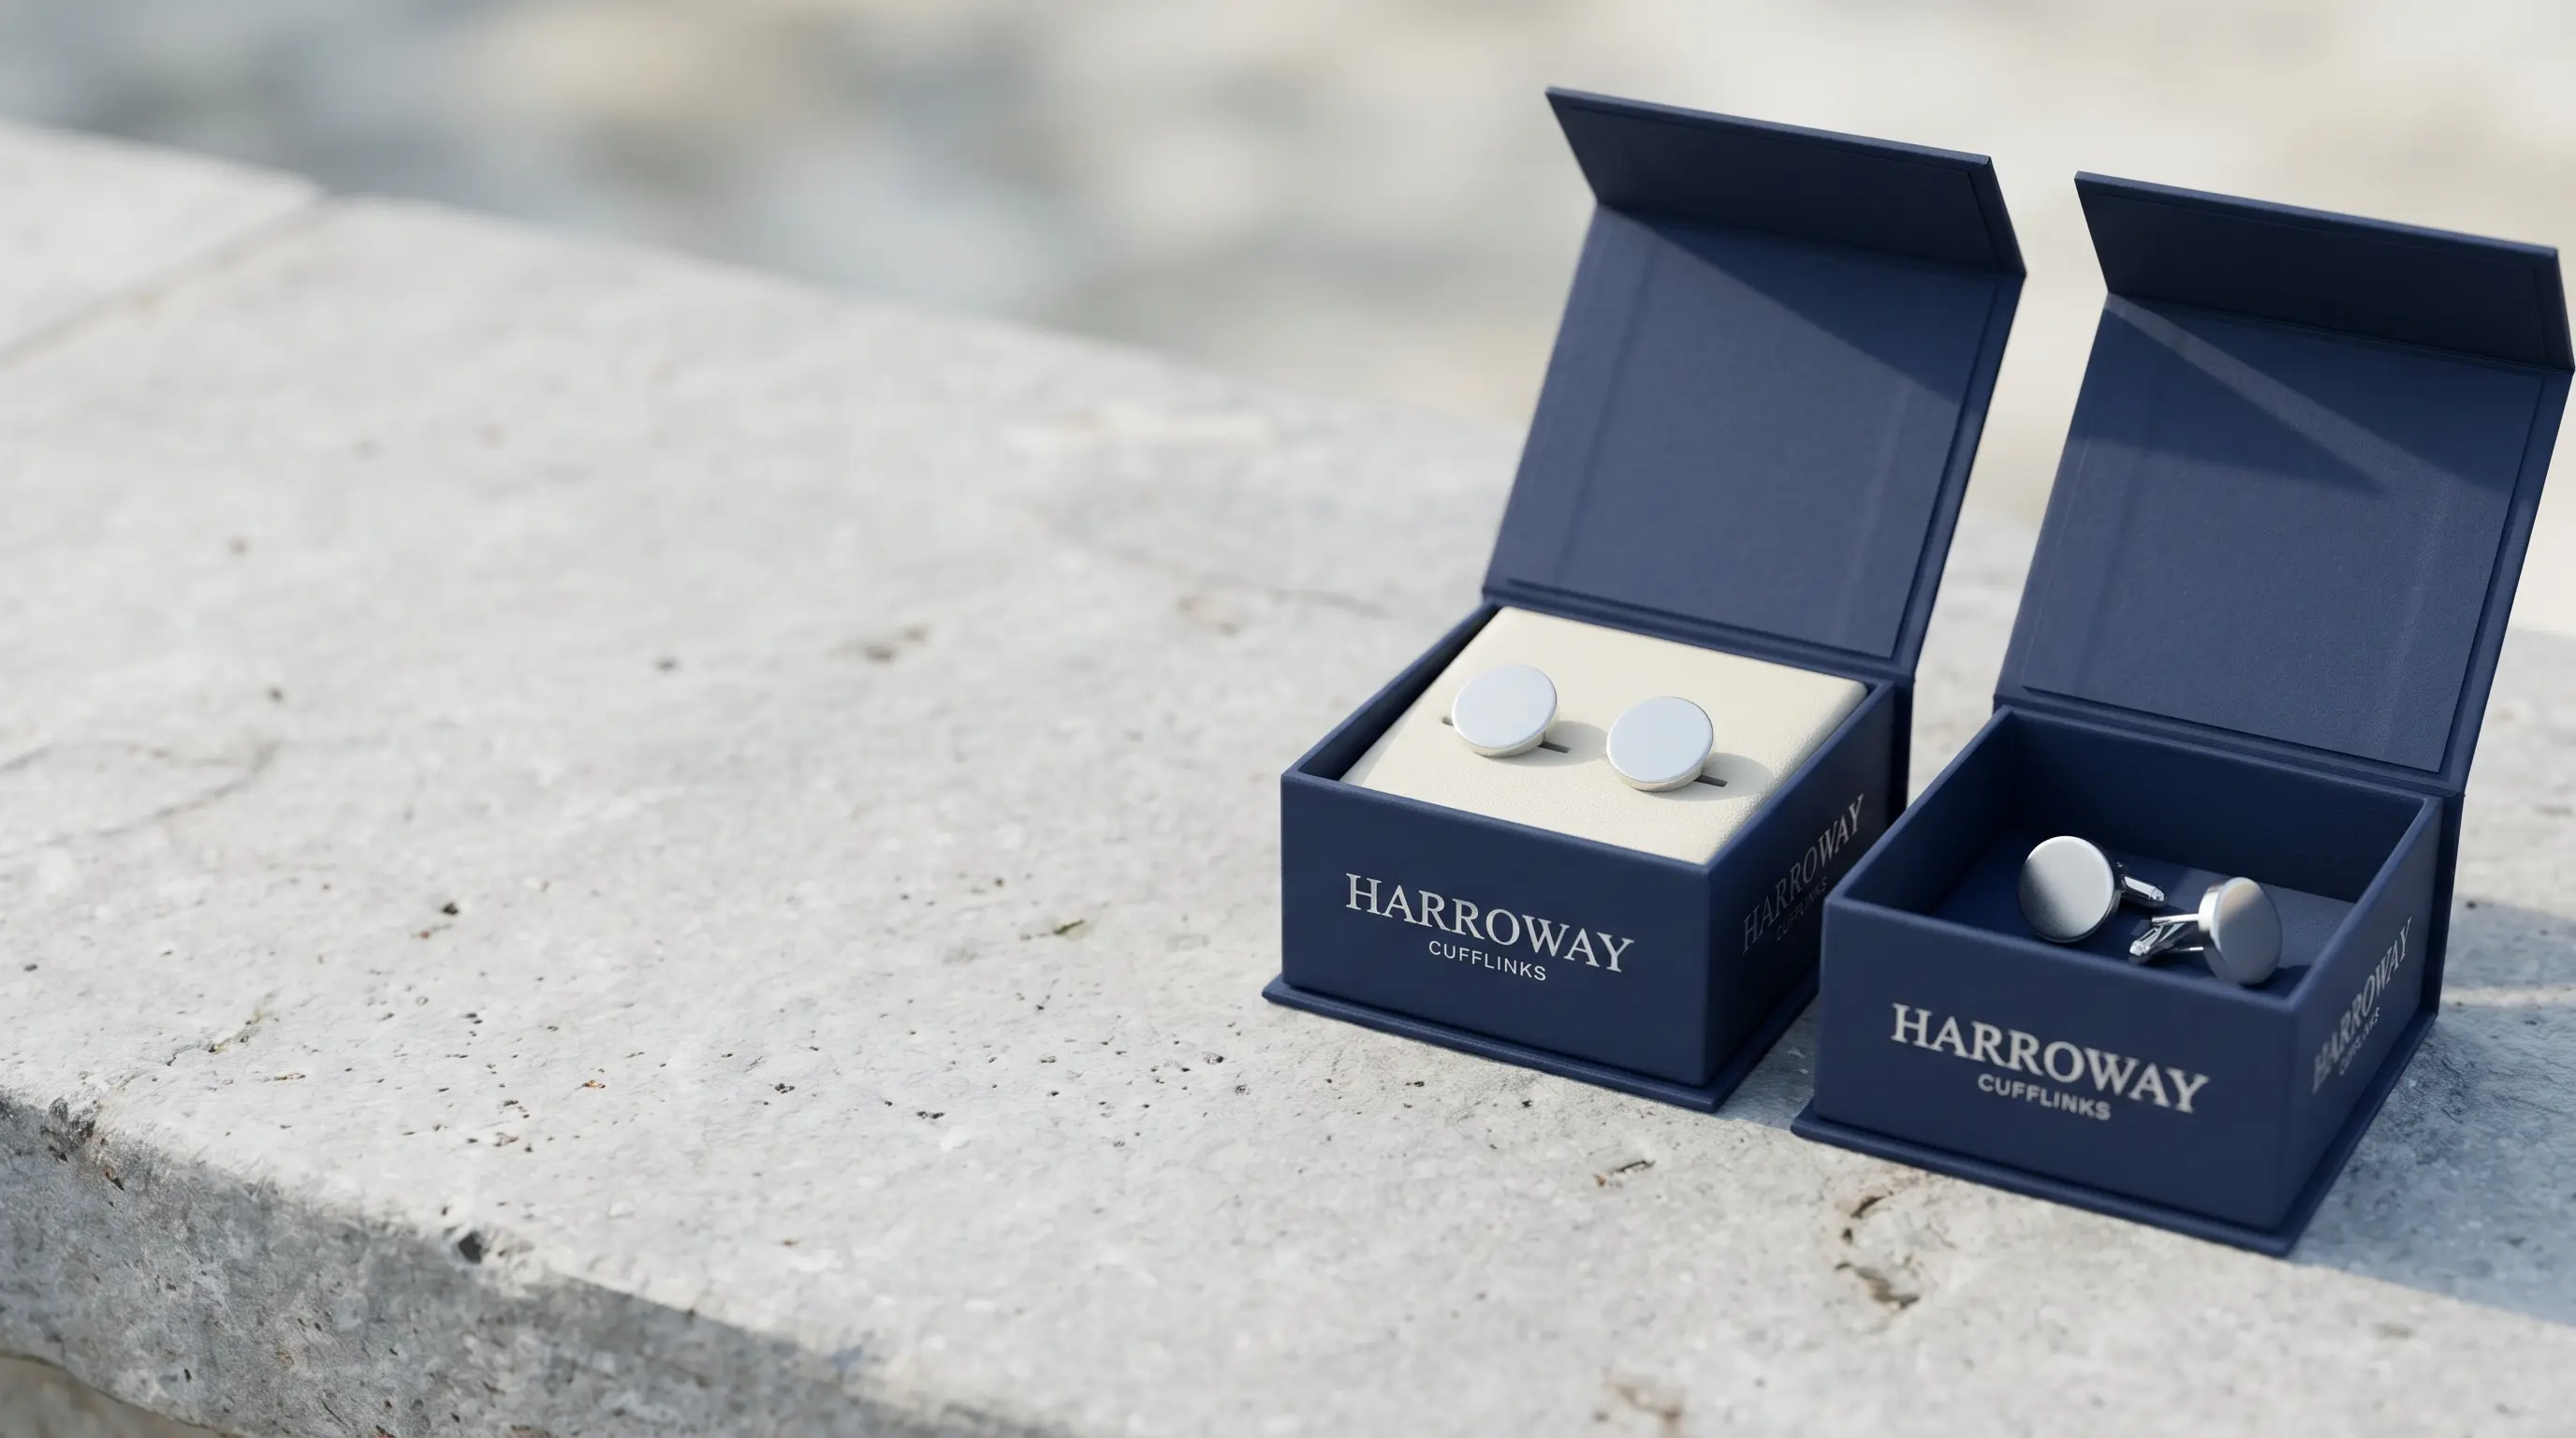
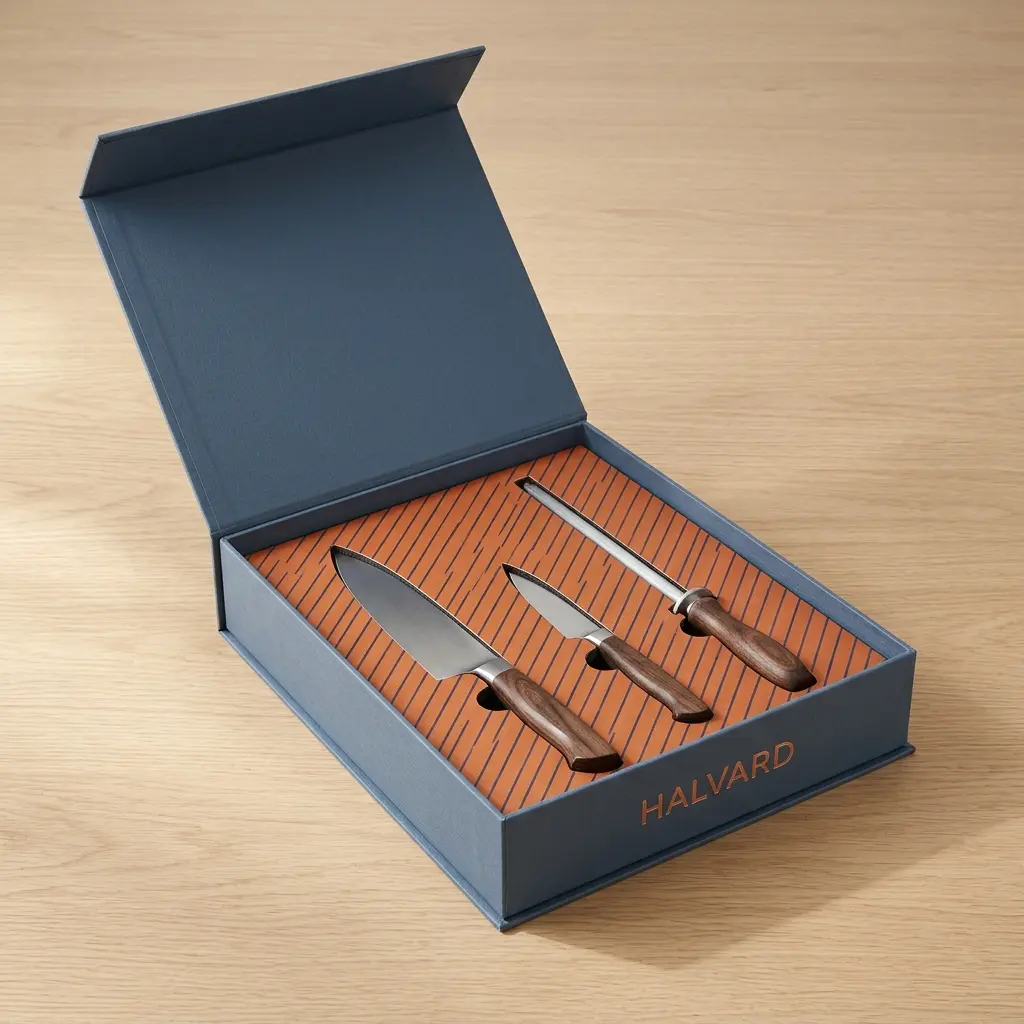
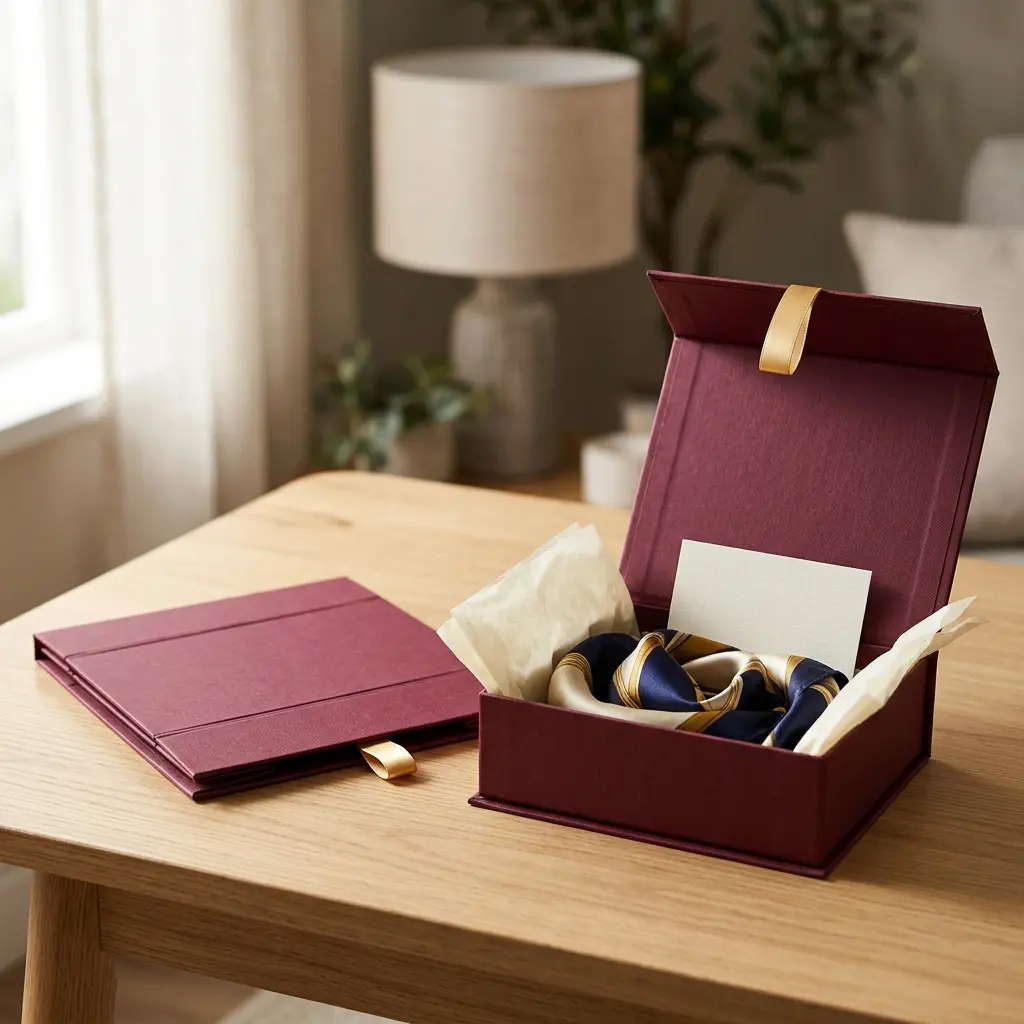
Premium boxes open in their own ways: a magnetic closure box lifts at the flap and shuts with a snap, and a ribbon pull gives the hand something to hold. Whichever you choose, the rule for the first five seconds is the same: one easy move, no tools.
The first look: printing the inside
When the lid comes up, eyes go straight to the inside of the lid and the walls around the product. On most boxes, that's bare board. Print it, and the opening becomes a reveal.
Inside print is one of the most noticeable upgrades you can make, because nobody expects it. A bright colour inside a kraft mailer, a repeat pattern, a short line under the lid or a message running along the inner wall all land at the one moment your customer is paying full attention.
It's also the part that ends up in photos. When customers share an order, the open lid is the backdrop of the picture, so design it like a poster: bold, simple and readable on a phone screen. Ideas that work well inside:
- A thank-you line in your brand's own voice
- Your social handle, so shared photos find their way back to you
- A QR code to a care guide, a how-to video or your reorder page
- A pattern that carries on from the outside, so the two sides read as one design
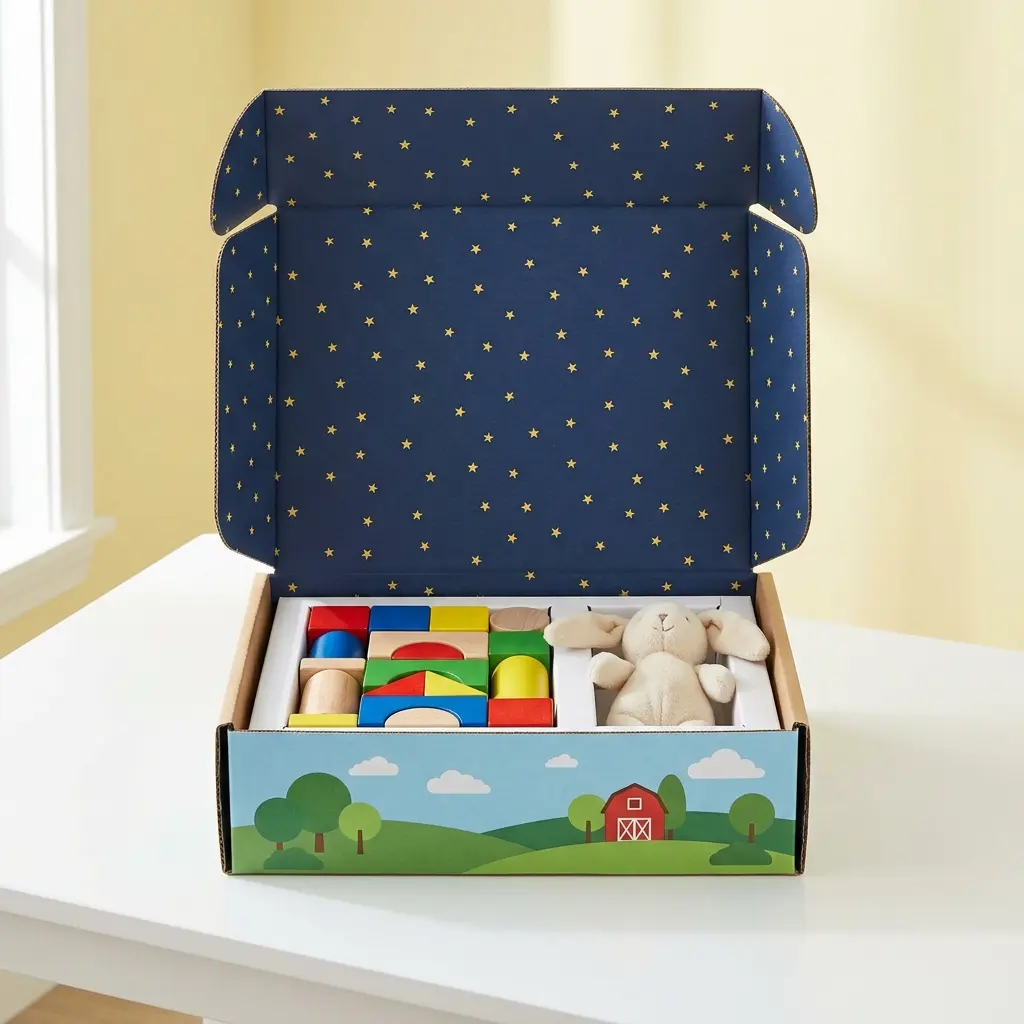
Bold shapes, solid colours and clear type read best inside a mailer. Keep important words away from folds and edges, where the board bends, and check where the inside of the lid lands when it's open: that's the panel your customer sees first. Printing inside and out is part of our custom box printing, and both sides appear on your digital proof, so you can see exactly where everything sits before a single box is made.
Fit: why a snug box looks deliberate
Open a box and find the product rattling around in one corner, and it no longer matters how good the print is. A loose product looks like an afterthought. A product that sits exactly where it should, with the box closing neatly around it, looks like somebody planned it, because somebody did.
Fit is protection as well as presentation. A product that can't move can't knock against the walls, and that knocking is where a lot of transit damage starts. Our guide to reducing shipping damage covers board strength and testing. For the unboxing, the point is simpler: the right size looks better and arrives better.
Sizing starts with the product, not the box. Measure it at its longest, widest and deepest points, including anything that sticks out, like a pump, a handle or a lid. If it travels in an insert, the insert's outer size becomes the size the box is built around. Our guide on how to measure a box walks through it step by step.
If you sell several products, a small family of box sizes, each fitting a group of products well, beats one big box that fits everything badly.
We always work in inside sizes, because that's the space your product actually gets. Measure the product, then compare it with the box's inside length, width and height: the difference, split between the two sides, is the gap your product has to move in.
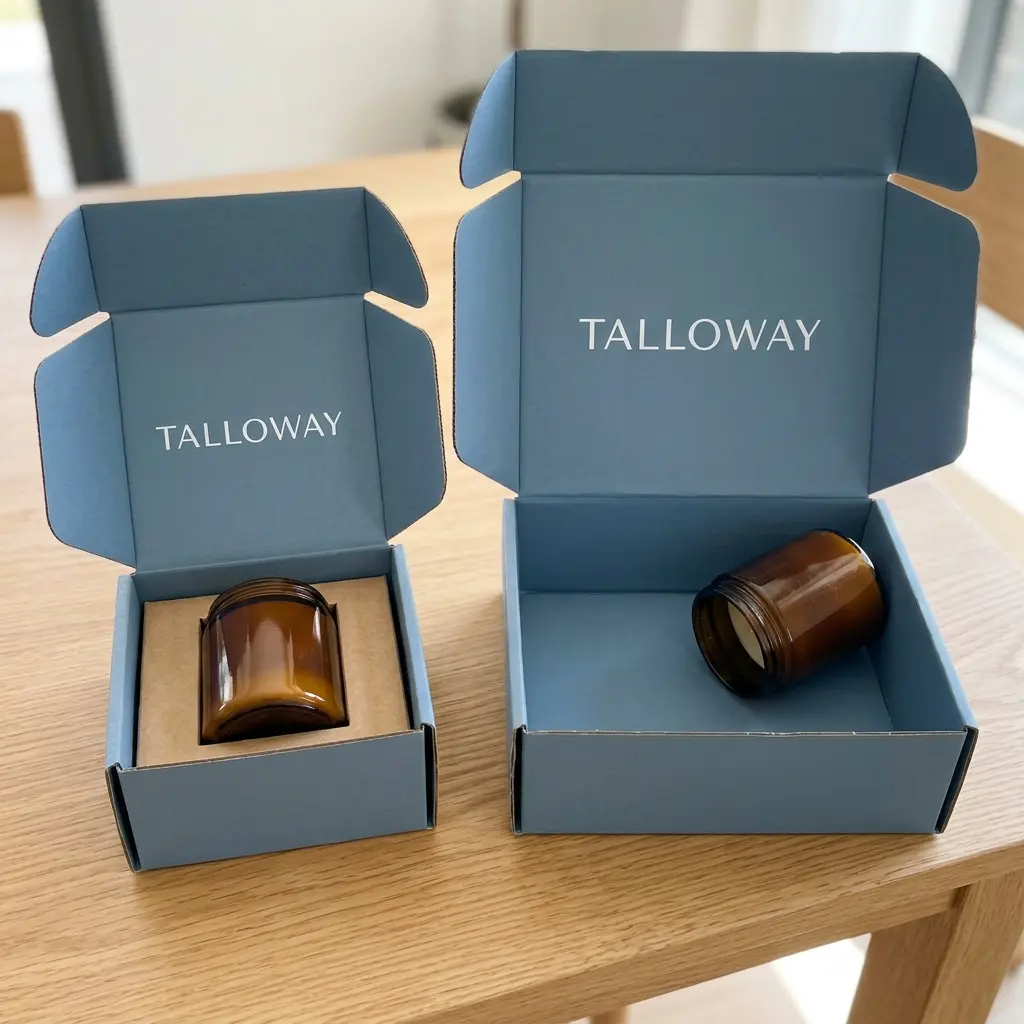
A few millimetres on each side is a snug fit for a carton or a mailer with nothing else inside. Bigger gaps aren't wrong, but something has to fill them, an insert or padding, or the product will move. Send us your product's size with your quote request and we'll size the box around it, then you check the fit on your proof.
If you'd like to learn how to choose between an insert and loose void fill, our guide to securing a product covers it.
Inserts that present the product
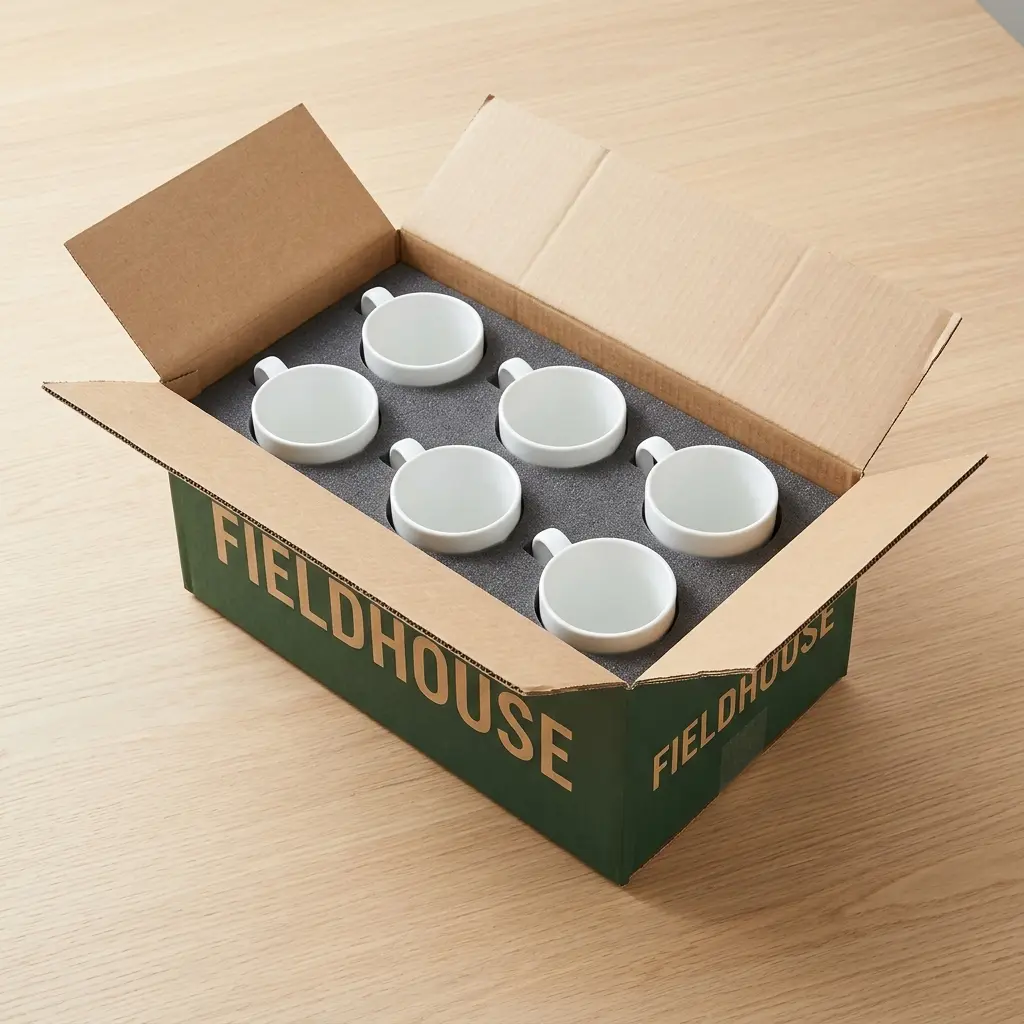
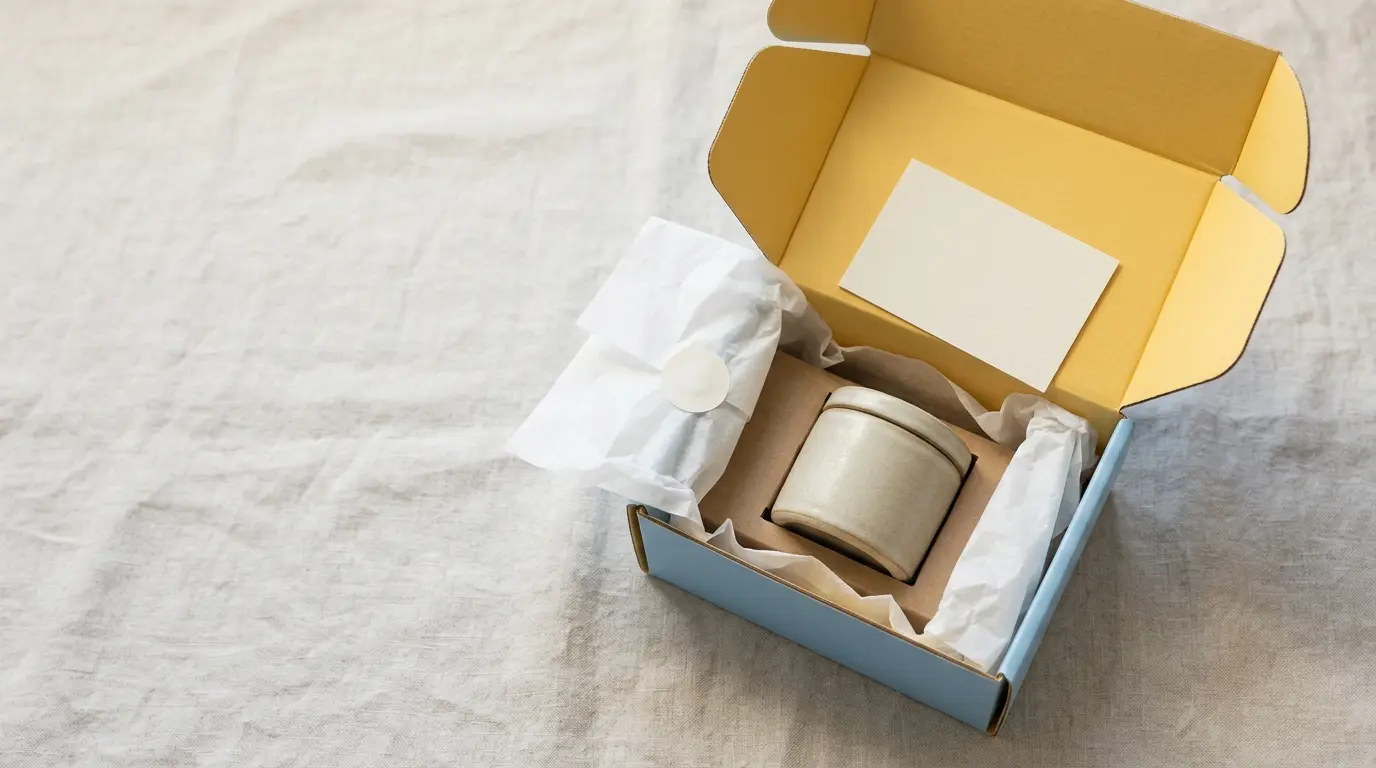
An insert is the part of the box that holds the product in place: a cut board, a fitted tray or a foam block with spaces shaped for each item. It turns "a product in a box" into a presentation, and it keeps a set of items in the order you chose, however the parcel was handled on the way.
We make four kinds, and each suits a different product:
- Cardboard inserts: paperboard cut to your product, light and tidy, and printable to match the box. A good fit for cosmetics, accessories and other light items.
- Corrugated inserts: fluted board with more strength, for heavier items and products that travel a long way.
- Foam inserts: the snuggest hold, cut to the product's exact outline. The pick for fragile and high-value things like electronics, glassware and watches, and it can take a printed card on top.
- Rigid inserts: wrapped board platforms and trays for premium gift and presentation boxes, where the insert is part of the look.
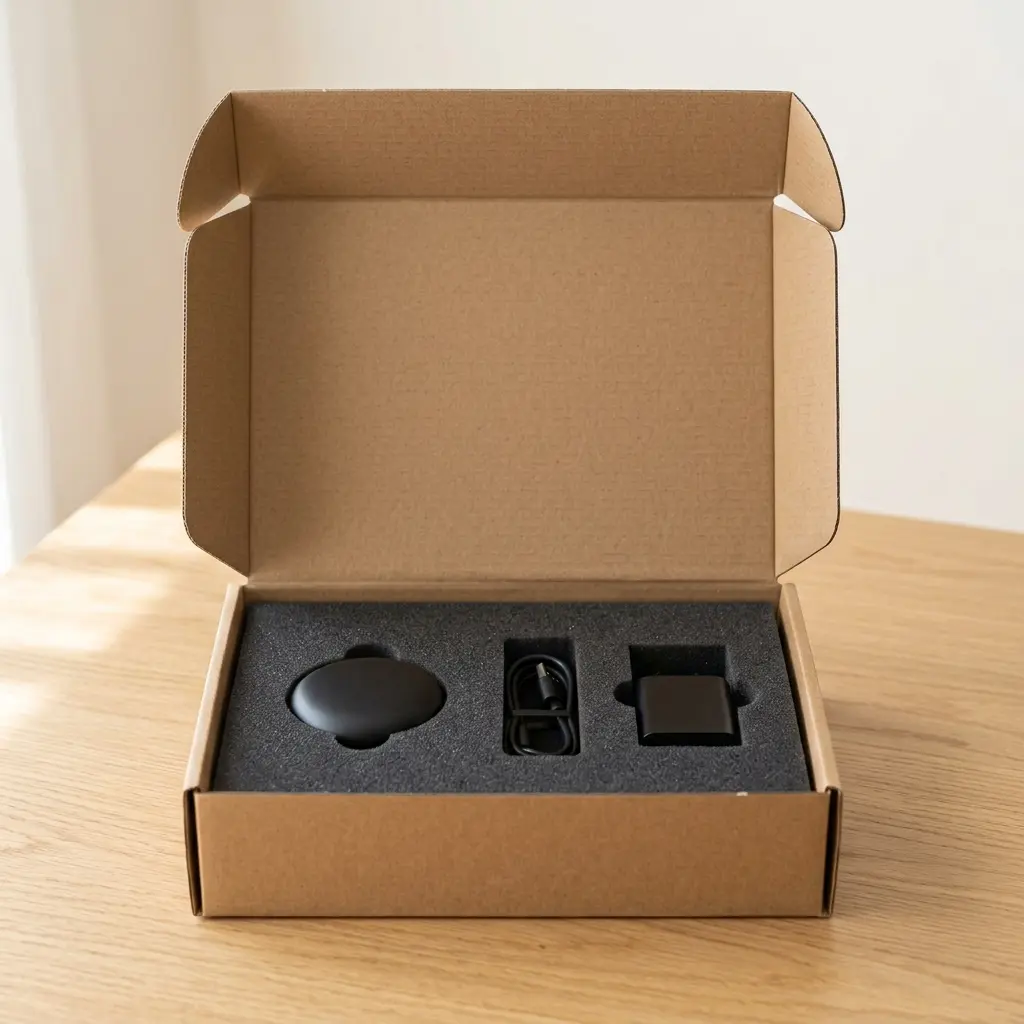
If you'd like to learn what each insert protects against on the way to your customer, we've covered the protection side too.
If you'd like to learn whether a printed or a plain insert suits your box, here's how each material takes print.
Laying out an insert
The layout matters as much as the material. Put the hero product in the centre, or first in line, and let the smaller pieces sit around it. Give every item its own well, so nothing touches. Leave a finger notch beside anything that sits deep, so it lifts out without a struggle. And if a set comes in layers, a lift-out tray with a ribbon pull lets your customer reach the second layer without tipping the box.
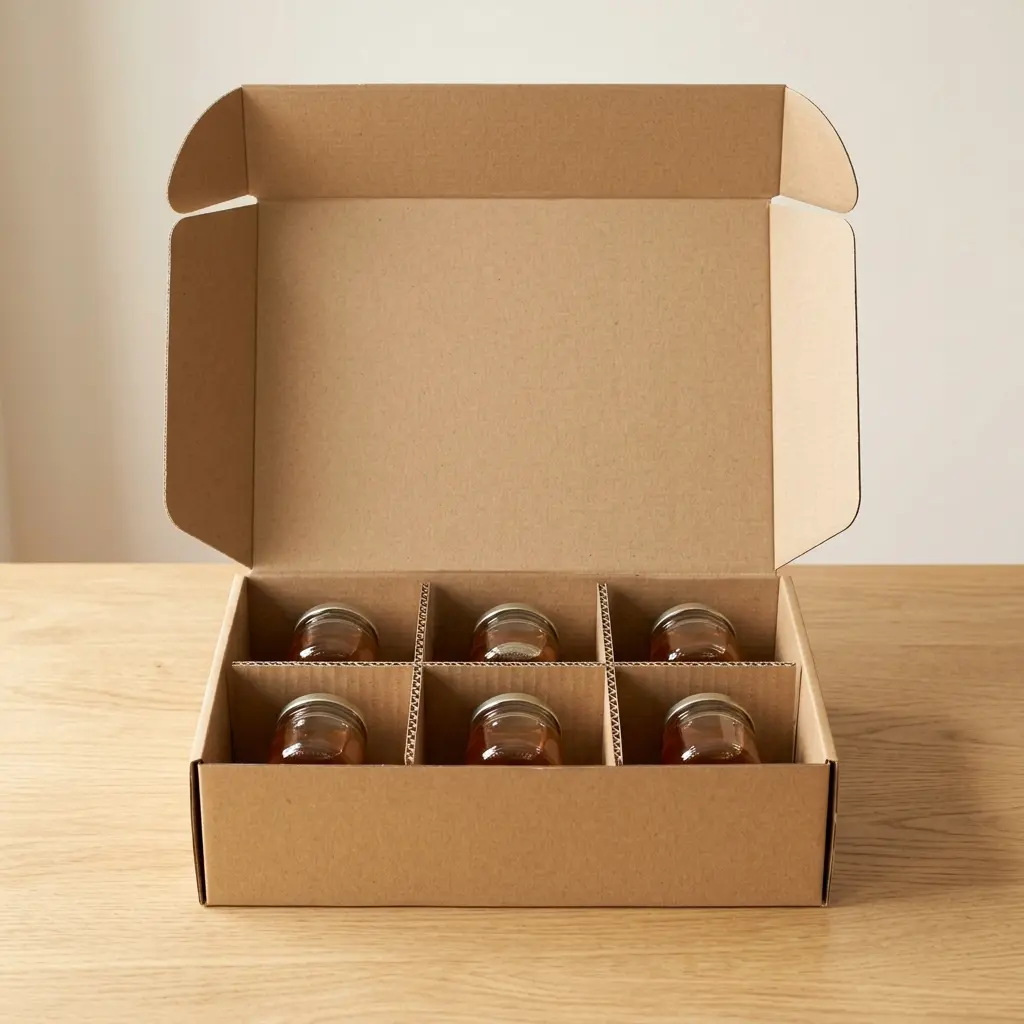
Our die-cut inserts are cut to your products' measurements, so give us the size of each item when you ask for a quote and we'll lay the insert out around them.
If you'd like to learn how to keep a product off the walls once it's in its insert, including the box-inside-a-box method, our guide to securing a product covers it.
Layers and reveals: sleeves, belly bands and lift-out trays
A reveal works best in stages. Each layer is a small pause, and those pauses are what make an unboxing feel like an occasion instead of an errand.
A sleeve box is the simplest version: a tray slides out of a printed sleeve. The sleeve carries the branding and the tray holds the product, so your customer gets two moments instead of one. A rigid sleeve box does the same in a heavier, giftable build, and a drawer box turns the slide into a pull-out drawer.
A belly band is a printed paper band wrapped around the middle of a box. It's an easy way to add a layer, and a flexible one: the box underneath can stay the same all year while the band changes for a launch, a collection or a season.
Inside, a lift-out tray adds a second level. The first layer comes away to show what's underneath, which suits sets, kits and anything with instructions or accessories that shouldn't be the first thing seen.
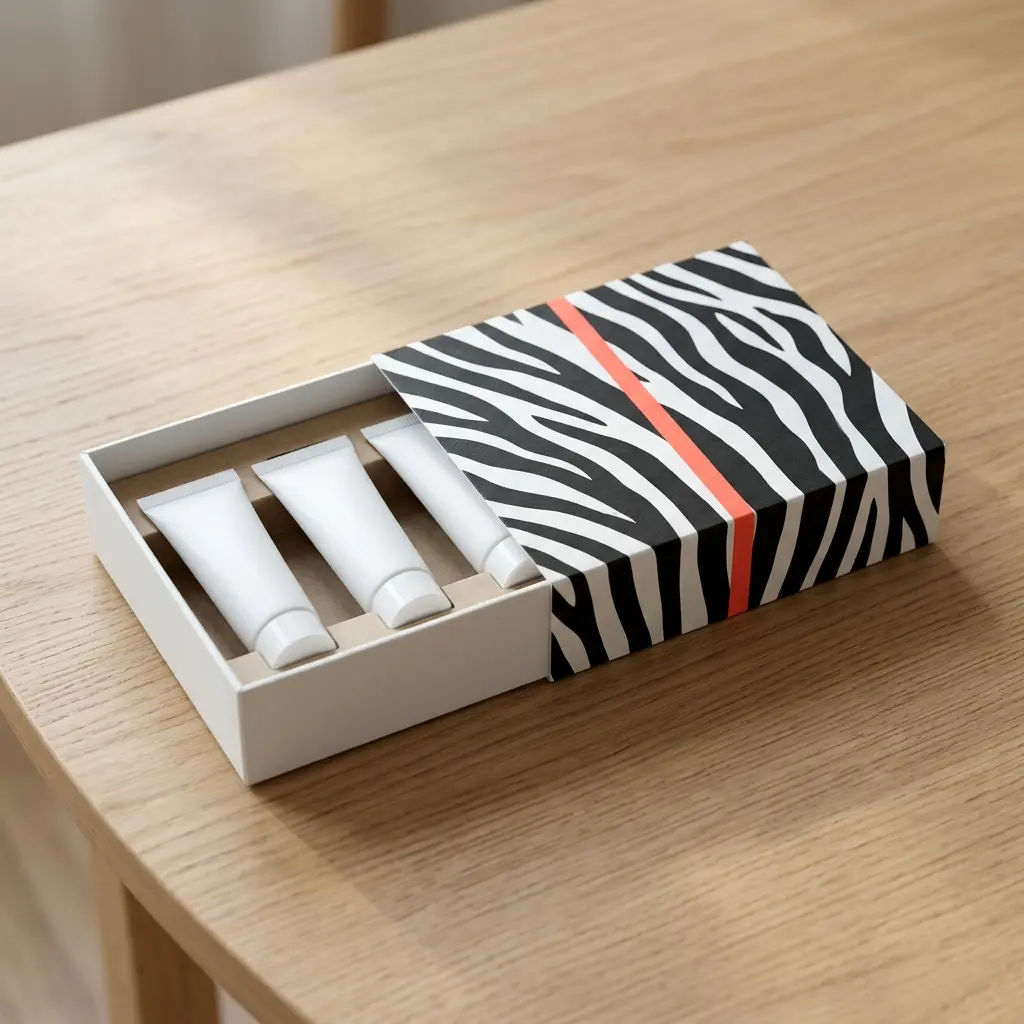
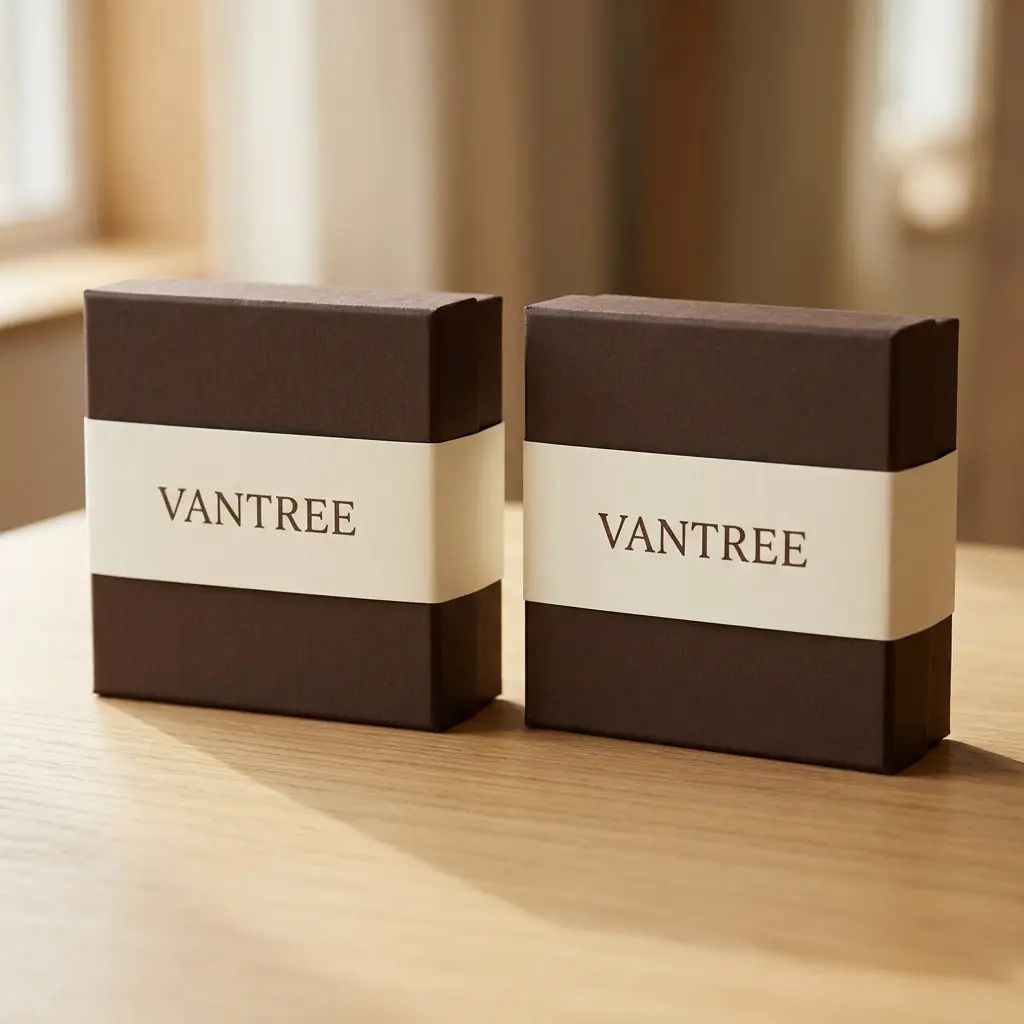
Don't stack layers for the sake of it. Two or three stages feel generous; five start to feel like a chore, and every extra layer adds packing time at your end too.
Closures you can hear and feel
How a box closes is part of how it feels. A magnetic closure box has magnets hidden in the flap, so the lid shuts with a soft, solid snap. Customers notice it every time they open and close it, and that's often, because it's a box people keep.
A tuck lid with a thumb notch is the everyday version. The notch gives a finger somewhere to go, so the lid opens without anyone picking at the board. On a rigid gift box, the board does part of the work: a heavier, stiffer box simply feels more valuable in the hand.
Match the closure to the product and to how often the box will be opened. Something used from its box every day, like jewellery, a watch or a skincare set, earns a magnetic lid. A one-time delivery is happy with a well-made mailer lid.
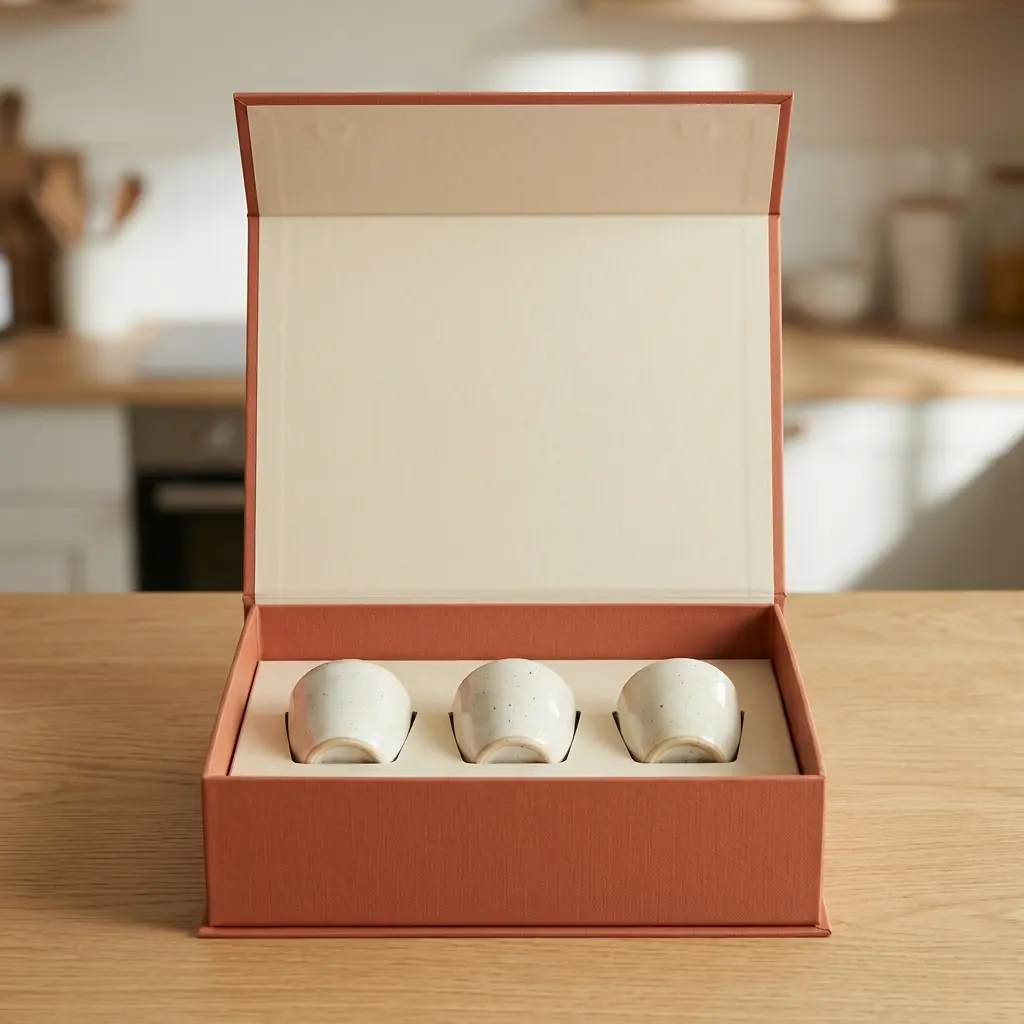
Finishes you can feel
Finishes are the details customers find with their fingers before they've really looked. Our guide to packaging finishes covers how each one is made. Here's how they work in an unboxing:
- Foiling: gold, silver or rose gold that catches the light as the box tilts. Use it on the logo or one line, not everywhere.
- Embossing and debossing: a raised or pressed pattern a thumb can trace. Beautiful on a lid in a plain colour.
- Soft-touch lamination: a smooth, velvety surface that makes people stroke the box, and it protects dark colours from scuffs.
- Spot UV: a glossy, raised coating on chosen parts of a matte box, so a logo or pattern shines against the board.
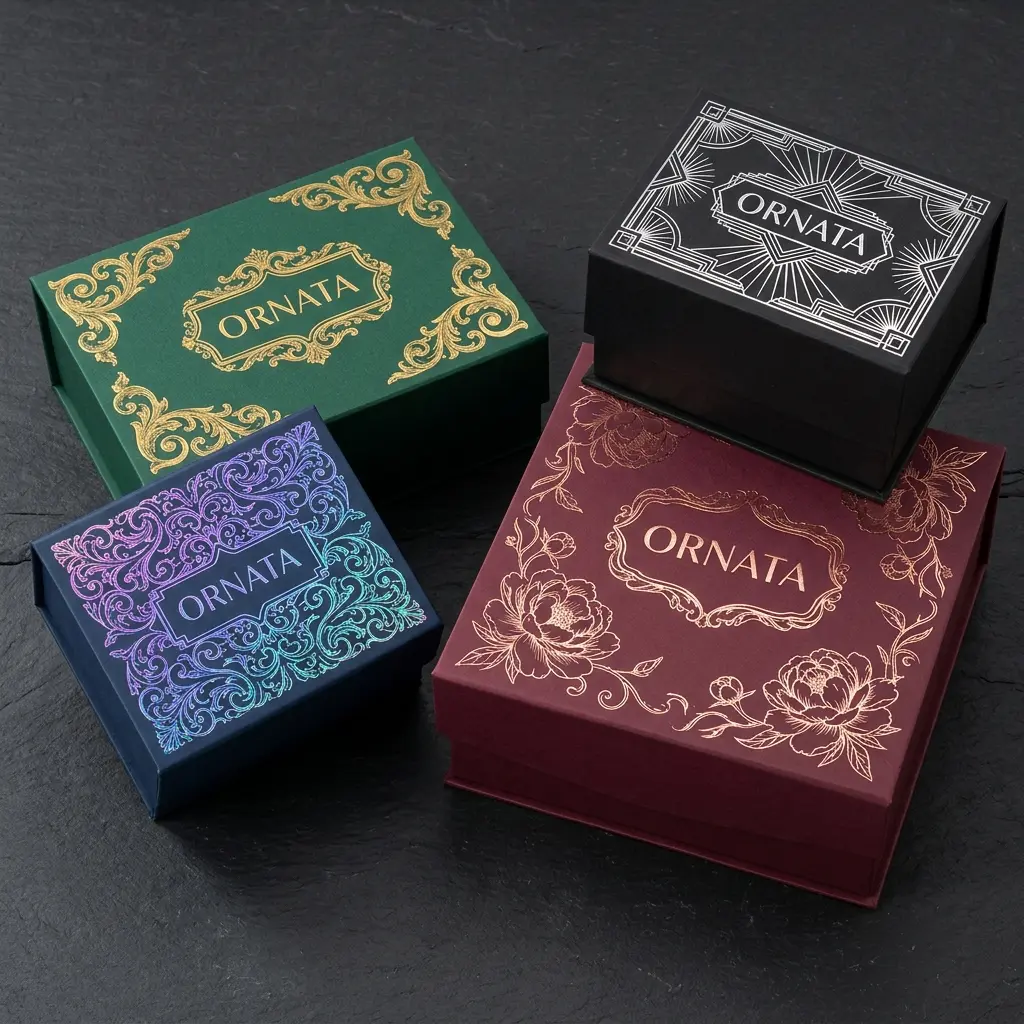
Pick one finish and put it where the hand goes first: the lid, the logo, the edge your customer lifts. One well-placed finish says "premium" far more clearly than three competing for attention.
Seals, tissue and small extras: pick one or two
Small extras are where unboxings get cluttered. Tissue, a sticker, a card, a sample, a sweet, confetti: each one is lovely on its own, and all of them together feel like filler. Pick one or two and do them properly.
A seal sticker earns its place more than most. Printed with your logo and pressed across the tissue or the lid, it holds things closed, shows nothing has been opened, and gives your customer one more small moment to break. We print custom labels and stickers to match your box, so the seal and the box share the same colours.
Tissue softens the reveal and protects surfaces that scratch. Fold it neatly and seal it in the middle: a crumpled sheet looks like packing material, while a folded one looks like wrapping.
If you include a card or a leaflet, give it a home. A spot on top of the product, or a slot in the insert, makes it the first thing seen, not something that slides out onto the floor.
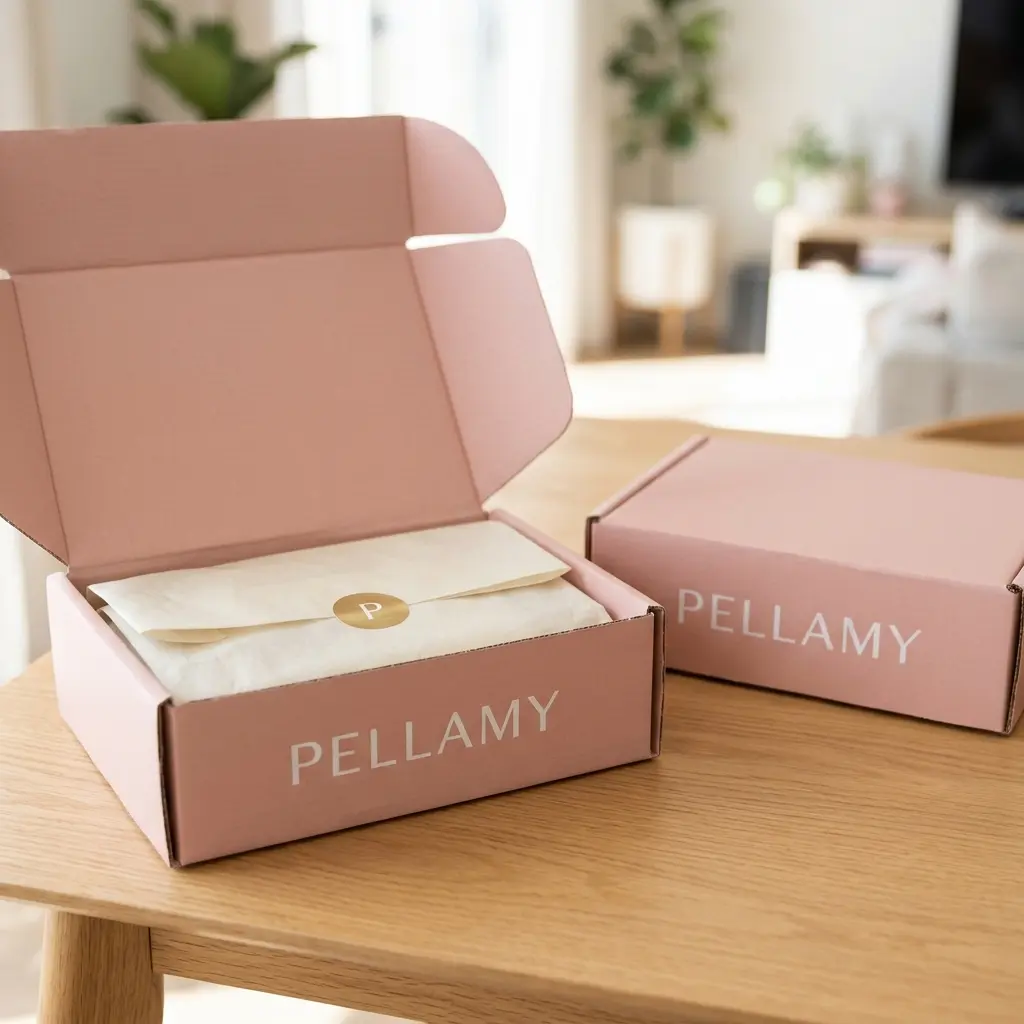
If you'd like to learn how to close a box so it stays shut all the way to the door, we cover mailers and shipping boxes both.
After the moment: a box worth keeping
The unboxing doesn't end when the product is out. A sturdy box with a lid that closes properly gets kept, for storage, for gifts, for the next return. Every time it's used again, your brand is back on someone's shelf.
Rigid boxes and magnetic boxes are the ones people keep most, because they're strong and they close well. A foldable rigid box gives you that keepsake feel and still arrives with you flat, and its ribbon pull version pops up into shape when the ribbon is pulled.
For everyday mailers, the easy win is a box that survives being opened. A clean tuck lid leaves it in one piece, ready to be used again.
Where the money goes furthest
If the budget is tight, spend it in the order your customer notices things. Our guide to cutting packaging costs covers the bigger picture. For the unboxing itself, this is the order we'd spend in:
- Fit first. The right size costs nothing extra and makes everything else look better.
- Inside print. One colour inside a kraft mailer changes the whole opening.
- A simple insert, if the product moves or comes as a set.
- One finish, on the lid or the logo.
- Extras last, and only one or two.
Notice what isn't on the list: a bigger box, more fill and more stuff. They cost more, and they make the unboxing worse.
Test it before the big order
Start with your digital proof. Check every panel inside and out, where the logo sits on the lid, and whether the inside print lines up with the way the lid opens. It's the cheapest moment to change anything.
We make runs from 100 boxes, so you can order a first batch, try it on real orders and adjust before the big run. Production takes 8–12 business days after you approve the proof, so a first batch doesn't hold you up for long.
When the boxes arrive, pack one exactly as a customer would get it, post it to yourself or a friend, and open it slowly, on camera if you can. Watch for the moment someone reaches for scissors, the moment the product tips over, the moment a card falls out. Each one is something to fix, and no drawing or proof would have shown you.
If you'd like to learn how to check your packing holds up in the post, start with the shake test.
The unboxing checklist
Run through this before you approve your proof:
- The outside says who it's from at a glance
- It opens without scissors: a tuck lid or a ribbon pull
- The inside is printed, or the first thing seen is there on purpose
- The product fits: no rattling, no forcing
- Every item has its own place in an insert
- No more than two or three layers
- One finish, where the hand goes first
- One or two extras, neatly placed
- The box survives the opening and is worth keeping
- You've packed, posted and opened one yourself
Questions
What is an unboxing experience?+
It's everything a customer sees, feels and does from the moment a parcel arrives to the moment the product is in their hands: the outside of the box, how it opens, the first look inside, how the product is held and what's left afterwards. For an online brand, it does the job a shop and its wrapping counter would do.
What should be included in an unboxing package?+
Start with a box that fits the product, then add what your customer will notice most: printing inside the box, an insert that holds each item in place, and one or two small extras, such as tissue held by a seal sticker. A few considered details beat a box full of filler.
What is the best box for an unboxing experience?+
For everyday online orders, a printed mailer box: it ships on its own, opens in one move and prints inside and out. For gifts and premium products, a rigid gift box or a magnetic closure box. For a reveal in stages, a sleeve box.
How can I make an unboxing feel premium on a small budget?+
Get the fit right, print the inside, and add one finish where the hand goes first, like foil on the logo. Those three do more than any number of extras. Skip the oversized box and the extra fill: they cost more and look worse.
Should I print the inside or the outside of my mailer?+
If you can only do one, consider the inside: it's where your customer is paying attention and where photos get taken. Kraft outside with a one-colour logo and full colour inside is a classic pairing. We print both sides, so you can also have both.
How many custom boxes do I need to order?+
Our runs start from 100 boxes, so you can try a design on real orders before ordering more. Ask for a quote with your product's size and the quantity you need.
How long does custom unboxing packaging take?+
Production takes 8–12 business days after you approve your digital proof. Leave time before that to settle your artwork and check the proof, and after it for delivery.
Have a box in mind?
Share your product dimensions, quantity, and timing. We'll recommend a practical packaging route.
Request a free quote