

 Made to your size
- 100 boxes
- Custom sizes & styles
- Free dieline support
- Quality print options
- Proof before production
- 8–12 business day production
Inserts do the quiet work in a box: they stop movement, which is the main cause of shipping damage, and they set the order in which a customer sees things. Choose cardboard for a light, low-cost fit that suits most retail products, corrugated for extra strength in transit, or foam for the firmest hold on fragile items. Each insert is cut to your product rather than adapted from a stock tray, and the dieline is proofed with the box it sits in.
Protection & presentation
Custom Packaging Inserts
✓Clear proofing before productionSee our process
Get a free quote
Tell us what you are packing and we’ll reply with practical options.
Product features
Built around the jobCardboard, corrugated or foam
Plain or printed to match the box
Multi-cavity layouts
Finger notches and ribbon pulls
Lift-out top trays
Spacers for smaller sizes
Anti-static foam option
Specifications made for your product.
Technical snapshotEvery final specification is confirmed against product weight, packing method, print coverage, route, and order volume.
View artwork preparation guide- SKU
- bm-1014
- Dimensions
- Custom-made around the product and packing workflow
- Materials
- Cardboard, Corrugated, Foam, Printed card-topped foam
- Printing
- CMYK, Pantone, white ink, or unprinted
- Finishes
- Matte, gloss, soft-touch, foil, embossing, spot UV
- Quantities
- Starting at 100 on selected configurations
- Proofing
- Dieline and digital proof
Make the first look inside count.
Artwork and materialsAn insert is the first thing seen when the lid opens. Cardboard and corrugated inserts can be printed to match the box, and cavity placement shapes how the product is presented. Our packaging guides cover sizing, materials, print, and cost in more depth.
Visible faces and cut-outs
We lay your artwork on the insert's flat dieline, printing only the faces that show, and line it up with every cavity and fold. A printed card top on foam gets the same careful alignment.
Explore print and finishesCardboard, corrugated or foam
Cardboard takes fine detail, corrugated suits bold, simple print, and foam's colour and smooth cut face become the finish. A printed card-topped foam insert pairs your artwork with the soft hold of foam underneath.
Explore material decisionsChoose your box
Tell us each product's measurements, including caps and labels, and the box the insert sits in.
Request a quote
We recommend cardboard, corrugated or foam, with the cavity layout that suits your products.
Finalize the order
Confirm the material, cavity layout, finger notches or pulls, any print and the quantity.
Build the dieline
We draw every cavity to your product sizes and proof the insert together with its box.
Approve the proof
Review cavity positions, print alignment with each cut-out and how products lift out on the proof.
Roll on production
Your inserts are cut, folded or assembled, checked against the layout and packed ready for use.
Best for
GlasswareElectronicsMulti-piece setsSubscription boxesWhat changes the price.
Cost factorsEvery project is quoted individually. These are the choices that move the price on almost every order.
- Cavities
- Each extra compartment adds cutting and folding work, so a four-cavity tray costs more than a single well.
- Material
- Cardboard is the lowest cost, corrugated sits in the middle, and foam costs most but gives fragile items the best protection.
- Fit tolerance
- A snug, protective fit needs more careful tooling than a loose one.
- Quantity
- The cutting die is a one-off cost, so the price per insert falls as the run grows.
Buyer guidance
Choosing this format
How an insert holds a product in place
An insert is cut to the shape of the product, then dropped into the box to hold it in place.
Cardboard and corrugated inserts are die cut from flat sheets and folded or slotted together. They ship flat and are assembled by hand or on the line. Foam inserts are cut from solid sheets of foam, with a pocket for each item, and arrive ready to drop into the box.
Every cavity is a hole or pocket sized to a particular item. The insert controls where the product sits, how it is kept off the walls, and what the customer sees first when the lid opens.
- Cardboard and corrugated: die cut, folded, ship flat
- Foam: cut from solid sheet, ready to use
- One cavity per item, sized to that item
Cardboard, corrugated or foam?
Pick on weight and fragility: cardboard for most retail, corrugated for transit, foam for fragile items.
Cardboard is thin, clean-looking and the lowest-cost choice. It suits light, regular shapes and most retail products, and it can be printed. Corrugated adds cushioning and strength, so it is the usual choice for heavier items and anything that ships. Both are easy to recycle.
Foam gives the firmest, softest hold. It absorbs knocks and grips glass, electronics and awkward shapes that cut board cannot hold well, and a dark foam set into a rigid box looks premium. It costs more than board and is harder to recycle, so it earns its place on fragile or high-value products.
- Cardboard: low cost, most retail products
- Corrugated: stronger, protects in transit
- Foam: best protection for fragile items
Fit tolerance and cavity count
A snug fit stops movement. A cavity that is too tight scratches the product and makes packing slow.
Measure the product at its widest point, including any label, cap or raised detail. The cavity is then cut a small amount larger. Too little clearance and the item has to be forced in. Too much and it moves, which defeats the insert.
Each added cavity makes the die or tool more complex. Multi-piece sets need every item measured, and the layout has to leave enough material between cavities to stay rigid. Send us each item's measurements and the order they are packed in, and we lay out the cavities on the dieline for you to check.
Fitted insert or loose void fill?
Paper crumple, air pillows and bubble wrap fill any space. A fitted insert holds one product in one exact place.
Void fill is flexible and needs no setup, so it works for orders that vary every time. It settles during transit, though, and leaves gaps that grow as the parcel is handled.
A fitted insert does not settle. It keeps every unit in the same position and makes packing quicker and more consistent. It suits a product that ships many times in the same form, which is also where the setup effort pays back.
Plain or printed inserts?
Most inserts are left plain, but a cardboard or corrugated insert can be printed so it matches the inside of the box.
A printed insert has its sheet printed before it is cut and folded, usually in the same colours as the box's inside print, so a pattern runs from the lid straight into the tray. Only the faces that show are printed. We lay the artwork out on the insert's flat dieline, so it lines up with each cut-out and fold.
Cardboard takes fine detail. Corrugated prints more coarsely and shows its fluting at the cut edges, so it suits bold, simple artwork. For delicate surfaces such as glass or polished metal, a cut board edge can leave dust, so some products are wrapped or bagged before they meet the cavity.
- Printed before cutting, visible faces only
- Artwork laid out on the flat dieline
- Cardboard for detail, corrugated for bold print
Printed foam: a card top on foam
Foam itself is not printed, but a printed card or paper sheet can be laminated onto its top face, giving a printed look over foam's soft hold.
The card is bonded to the foam and the two are cut together, so the cut-outs in the print and in the foam line up exactly. When the box opens, the customer sees the artwork with the product sitting in its cavity; underneath, the foam cushions it. Electronics, accessories and other high-value items are often packed this way.
The foam's colour still shows at the cut edges and inside each cavity, so choose a foam colour that suits the artwork. Plain foam is chosen by colour and its smooth cut face is the finish; the card top is what turns it into a printed insert.
- Printed card laminated on top
- Cut together, so cavities line up
- Foam colour shows at the edges
Fitted insert or a stronger outer box?
An insert is the pick when the damage comes from movement. A heavy duty box is the pick when it comes from crushing or punctures.
An insert stops movement, but it cannot make a weak outer box strong. If the damage comes from crushing or punctures, the fix is a stronger carton, such as a double-wall shipping box, not a fitted tray. A well-cut insert inside a thin box still fails when parcels are stacked on it.
Inserts are also poor value for items that vary in size, for one-off orders, or for very light and flexible goods that do not need holding. In those cases a simple wrap or paper fill does the same job with less planning.
Related packaging formats
Compare your options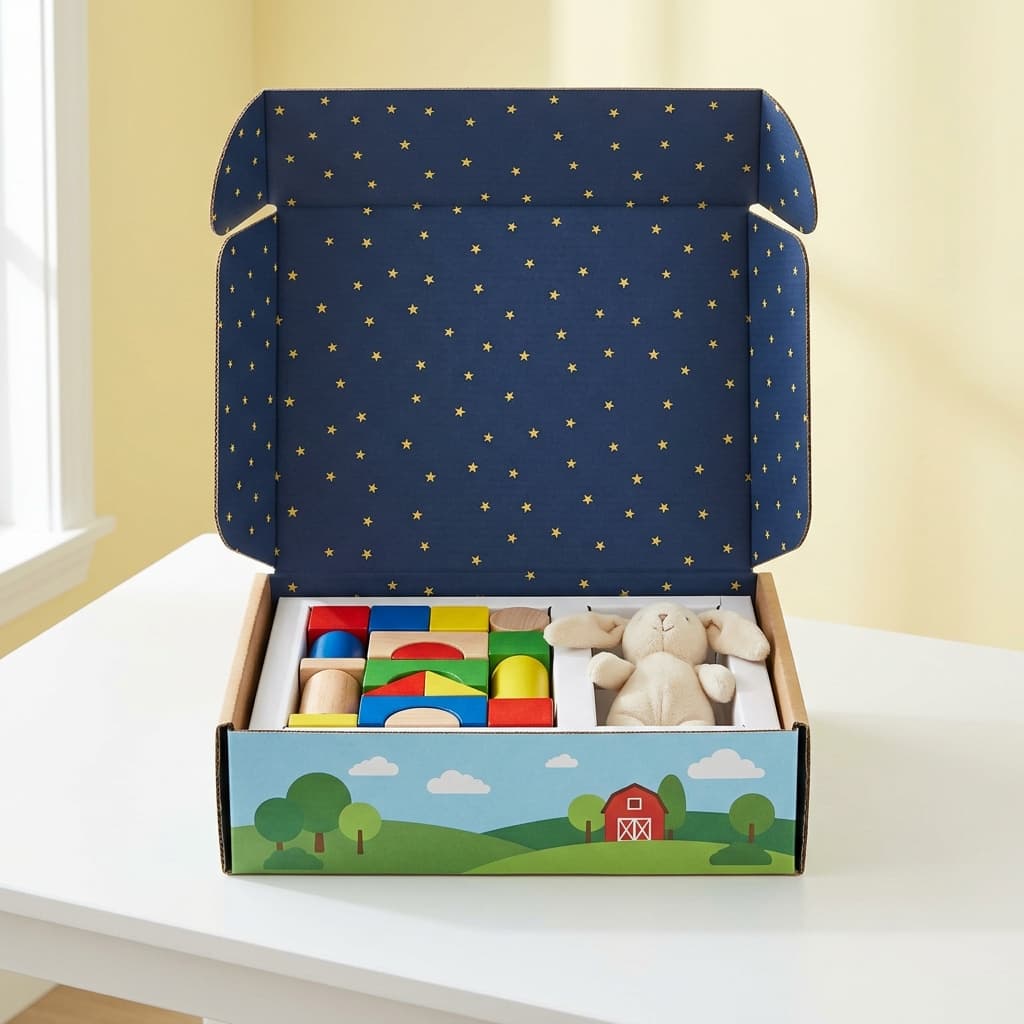
Mailer Boxes
Sturdy, self-locking corrugated mailers built for memorable deliveries.
Explore box style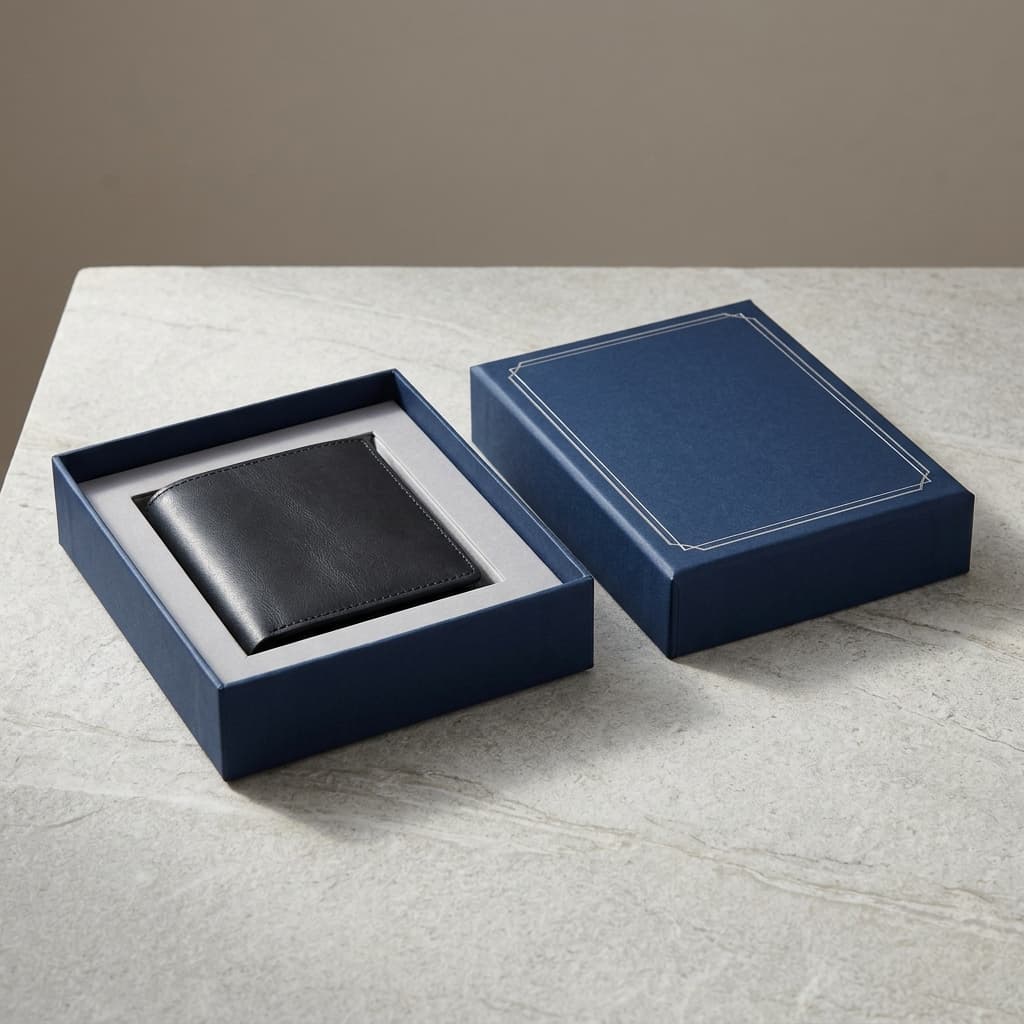
Rigid Boxes
Luxury two-piece and magnetic boxes with a substantial, keepsake feel.
Explore box style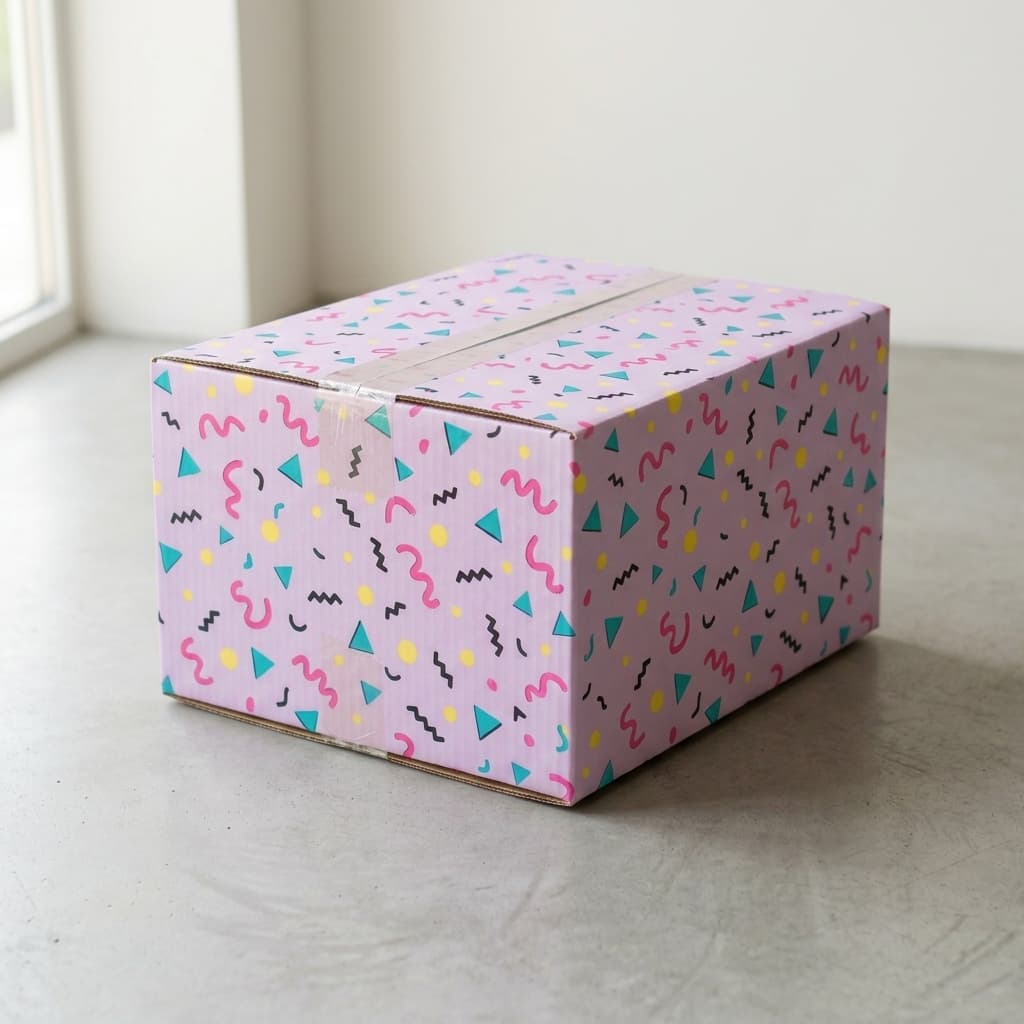
Shipping Boxes
Right-sized corrugated shipping boxes made for protection and efficient transit.
Explore box styleQuestions about inserts.
Box style FAQsWe’ll confirm the exact details that apply to your structure and volume.
Read all frequently asked questionsShould I choose a foam insert or a cardboard insert?+
It depends on the product. Cardboard inserts ship flat, print cleanly and suit square or lighter items, and they recycle with the box. Foam inserts grip curved, irregular or fragile products closely and absorb knocks well. Tell us what you are packing and we recommend the one that suits it.
Do I need to send a product to get an insert made?+
Not usually. Exact measurements of the real item, including caps, seams and labels, are enough for most inserts, and we draw the cavities to fit and show them on the dieline. For an irregular shape or a very close fit, sending us a finished unit, ideally your largest, is the most reliable way to get it exactly right.
Can one insert work for products in different sizes?+
Yes. We can size the cavities for the largest product and add a spacer for smaller ones, or use slotted corrugated dividers that move. Each gives some flexibility, so smaller items sit a little less tightly. Where the sizes are very different, we recommend separate inserts inside one outer box.
How will customers lift the product out of the insert?+
We plan that in from the start, so a snug fit never means a struggle. The usual answers are a finger notch cut beside each cavity, a ribbon pull under the product, or a lift-out tray. For two-layer kits, we make a top tray that lifts out to reveal the second layer, which also adds to the unboxing.
Can you make foam inserts for electronics?+
Yes. For bare circuit boards and loose components, we recommend anti-static foam, which is made to stop static building up and is usually pink or black. Finished devices in their own housing are normally packed in standard foam. Tell us what you are packing, or what the device's manufacturer specifies, and we choose the foam to match.
Start with a free recommendation
Get pricing